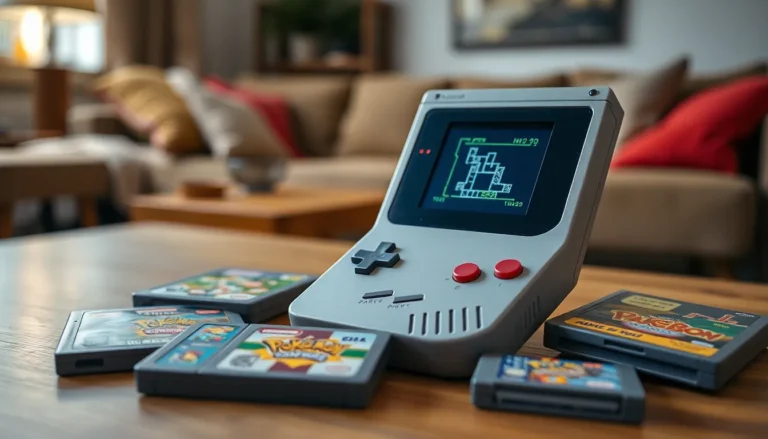
For many gamers, the Game Boy isn’t just a console; it’s a nostalgic journey back to simpler times. With its iconic design and classic games, it sparked a revolution in portable gaming. But what if one could take that beloved device and elevate it to new heights? Enter the world of Game Boy DIY, where creativity meets retro technology.
Transforming a Game Boy isn’t just about repairs or upgrades; it’s a chance to personalize and innovate. From custom shells to enhanced displays, DIY enthusiasts are breathing new life into these handheld wonders. Whether you’re a seasoned modder or just starting, the possibilities are endless. Dive into this guide and discover how to turn your vintage Game Boy into a unique masterpiece that reflects your style and passion for gaming.
Overview of Game Boy DIY
Game Boy DIY allows enthusiasts to personalize and enhance their handheld consoles, transforming them into unique masterpieces. This creative approach appeals to both seasoned modders and newcomers, providing vast opportunities for customization.
What Is Game Boy DIY?
Game Boy DIY refers to the practice of modifying and upgrading Game Boy consoles using various components and techniques. This includes customizing shells, installing new screens, enhancing audio quality, and improving performance. Gamers engage in DIY projects to personalize their devices, adding unique aesthetics and functionality. Many resources and communities support these endeavors, offering tutorials, replacement parts, and inspiration for modifications.
History and Evolution
Game Boy DIY traces its roots back to the original Game Boy’s release in 1989. Early modding efforts focused on simple enhancements like battery replacements and external speakers. With advancements in technology, modding has evolved to include full-color displays, backlighting, and custom shell designs. The rise of online communities since the early 2000s has fueled the DIY culture, encouraging creativity through shared knowledge. Enthusiasts now celebrate a rich legacy of modding that continues to evolve as new components become available, furthering the Game Boy’s relevance in gaming culture.
Tools and Materials Needed
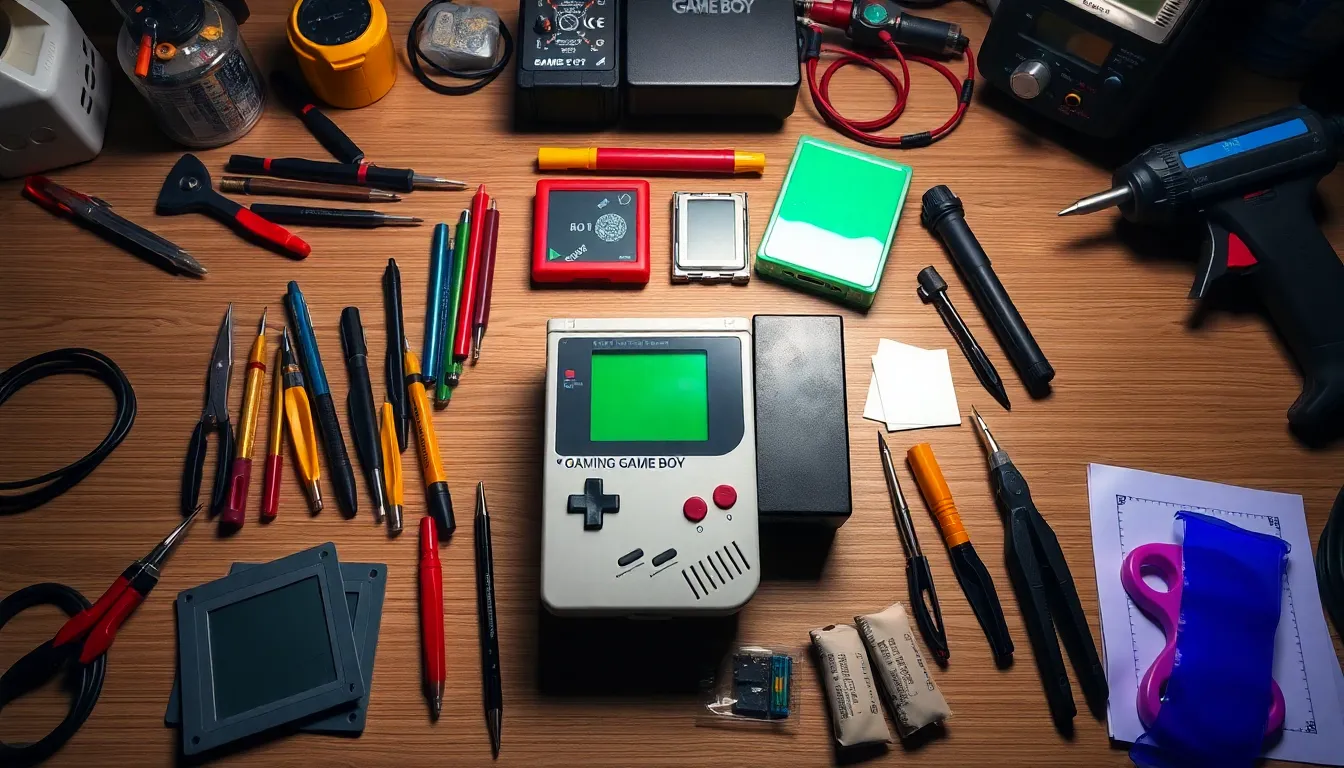
For a successful Game Boy DIY project, having the right tools and materials is crucial. The following sections outline essential tools and recommended materials that enhance the modding process.
Essential Tools for DIY Projects
- Screwdrivers: Phillips and flathead screwdrivers of varying sizes handle different screws found in Game Boy models.
- Soldering Iron: A good-quality soldering iron enables easy connections and disconnections of electronic components.
- Wire Cutters: These remove excess wire or trim leads when working with various electronic parts.
- Tweezers: Precision tweezers assist in placing small components during assembly or modification tasks.
- Heat Gun: A heat gun provides controlled heat for shrinking tubing or softening adhesive materials.
- Multimeter: A multimeter checks voltages, resistance, and continuity, essential for diagnosing issues.
- Utility Knife: A utility knife helps cut custom shell materials or plastic for precise modifications.
Recommended Materials
- Replacement Screens: IPS displays increase brightness and enhance color, significantly improving the gaming experience.
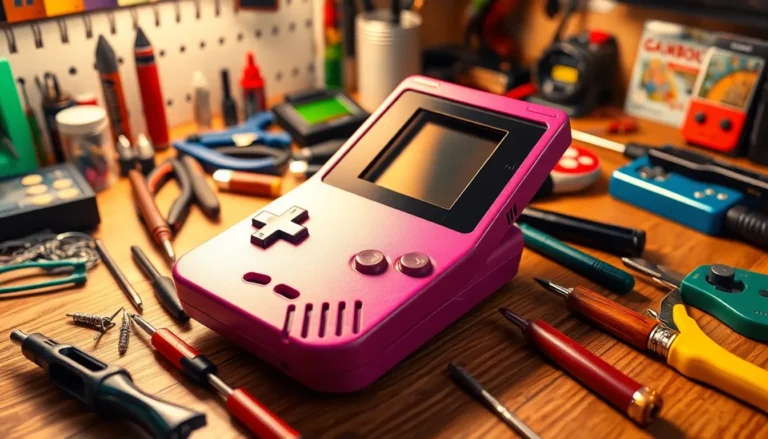
- Custom Shells: Unique plastic or acrylic shells allow personalization, often featuring various colors or designs.
- Battery Packs: Rechargeable lithium-ion battery packs replace outdated AA battery setups, extending gameplay time.
- Speaker Upgrades: Improved audio speakers enhance sound quality, creating a richer gameplay experience.
- LED Lighting Kits: LED lighting kits offer backlighting options for play in low-light settings.
- Heat-Shrink Tubing: This insulation option protects exposed wires and connections, ensuring safety and durability.
- Adhesives: Strong adhesives secure components during assembly, especially when modifying or repairing shells.
These tools and materials set the foundation for any Game Boy DIY project, ensuring a seamless enhancement and customization process.
Step-By-Step Guide
Follow these steps to effectively customize your Game Boy, ensuring a smooth process from disassembly to reassembly.
Disassembling the Game Boy
- Prepare your workspace. Clear a flat, static-free surface for your project.
- Gather tools. Use a tri-wing screwdriver and a Phillips screwdriver for removal of screws.
- Remove screws. Unscrew the back panel and detach it carefully.
- Disconnect components. Take out the battery and carefully detach the circuit board from the front panel.
- Keep track of parts. Place screws and small parts in labeled containers to prevent loss.
Modifying the Circuit Board
- Inspect the board. Examine the circuit board for any wear or damage.
- Add enhancements. Install new components, such as upgraded capacitors or sound chips, for improved performance.
- Solder with care. Use a soldering iron to connect new components, ensuring good connections without overheating the board.
- Install a new screen. If replacing the display, remove the old screen and solder the new one in place, following specific wiring instructions for compatibility.
- Upgrade the power supply. Consider connecting a rechargeable battery pack to enhance battery life and usability.
Reassembling and Testing
- Replace the circuit board. Carefully reattach the modified circuit board to the front panel.
- Secure components. Align and tighten screws into place to firmly hold the back panel.
- Reconnect the power supply. Ensure all connections, including the battery, are secure before closing the device.
- Power on the Game Boy. Test the modifications by turning on the device to verify screen functionality and sound quality.
- Final adjustments. Make any necessary tweaks to ensure everything functions correctly, preparing for extended play.
Customization Options
Gamers can explore various customization options to personalize their Game Boy consoles. These upgrades enhance both aesthetics and performance, creating unique handheld devices tailored to individual preferences.
Screen Upgrades
Screen upgrades significantly improve the visual experience on Game Boy devices. Enthusiasts can opt for retro-fit LCD screens or full-color display kits that offer brighter colors and sharper images. Popular options include the IPS display, which enhances viewing angles and provides better contrast. The installation process often requires soldering and specific tools, but resources and tutorials are readily available online, simplifying the task for modders of all skill levels. Upgrading to an illuminated screen allows for gameplay in low-light conditions, making it a sought-after modification.
Battery Improvements
Battery improvements extend gameplay time and enhance the overall user experience. Replacing old batteries with rechargeable lithium-ion packs offers longer-lasting power and eliminates the need for disposable batteries. Some modders choose to install battery-saving circuit boards that increase efficiency and reduce energy consumption. Additionally, installing a USB-C charging port allows for convenient charging without removing the battery. These upgrades not only enhance performance but also promote sustainability by reducing waste.
Community and Resources
A vibrant community exists for Game Boy DIY enthusiasts, offering essential support and resources for modding projects. Gamers and modders can connect with others to share tips, tutorials, and creative inspiration.
Online Forums and Groups
Online forums and groups play a crucial role in the Game Boy DIY community. Platforms like Reddit, Discord, and dedicated modding websites foster discussions on various modding techniques and innovations. Popular subreddits, such as r/Gameboy and r/retrogaming, host threads for sharing project ideas and troubleshooting challenges. Discord servers provide real-time communication, enhancing collaboration among modders. Facebook groups also facilitate connections, allowing members to showcase completed projects, ask questions, and exchange resources, making it easier for both newcomers and experienced modders to navigate Game Boy customization.
Tutorials and Guides
Tutorials and guides are abundant across multiple platforms, equipping modders with step-by-step instructions for DIY projects. Websites like iFixit and YouTube channels dedicated to retro gaming offer detailed videos covering everything from disassembly to specific modding techniques. These resources highlight essential tools, recommended materials, and demonstrate various customization options, ensuring modders can effectively follow along. For example, comprehensive guides on replacing screens or upgrading batteries provide invaluable insights. Blogs focused on gaming modifications also feature user contributions, showcasing personal modding experiences and innovative approaches to enhancing Game Boy devices.
Game Boy DIY offers a unique opportunity for gamers to breathe new life into their beloved handheld consoles. By embracing creativity and innovation, enthusiasts can transform their devices into personalized masterpieces that reflect their individual style. With the right tools and materials, anyone can embark on this exciting journey of customization.
The vibrant community of Game Boy modders provides invaluable resources and support, making it easier for newcomers to dive into the world of DIY. Whether it’s upgrading screens or enhancing audio, the possibilities are endless. As technology continues to advance, the legacy of Game Boy modding will undoubtedly thrive, inspiring future generations to explore the art of customization.